My “Holidays” are the simplest of any I know. I made that choice 40 or so years ago. It suits me and I want to share what that looks like.
Because I come from a Catholic tradition, my celebration for this time of year is, basically, Christmas. But I resonate with the Solstice, so I celebrate both in quiet ceremonies at home. In the afternoon and evening I gather with family and friends. I adapt to the people around me and my geographical location at the moment, but simplicity is key.
I have one child. I collect things during the year that I think would make his life more wonderful. He is the only person on “my list” so anyone and anything beyond that is optional. Don’t get me wrong. I love giving and getting meaningful gifts . . . but “meaningful” is the operative word here. Everyone I know has more stuff than they want or need. I don’t feel obligated to contribute to their burden of stuff to take care of . . . but if there is something I can give that is thoughtful and heartfelt and needed? . . . I’m all over it, though I usually deliver at any time during the year, when it’s really needed.
I do, however, have one little gift tradition . . . I make Chocolate Chip Pumpkin Bread for selected friends, family and acquaintances. It’s a tradition that started in the early 1970s with my next-door neighbor, Mrs. Shubel.
She was in her 80s and lived to the north of the first house I bought with my first husband.
Mrs. Shubel taught me many things, but only two of them were life-changing:
- It’s a worthy thing to have a large, spectacular garden populated with one type of plant that blooms only 3 weeks a year (in her case it was bearded iris).
- It’s important to have a really good Holiday recipe to give as your signature gift.
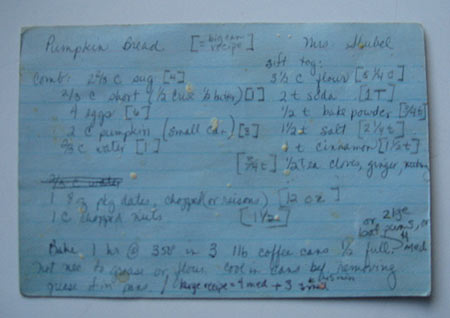
Mrs. Shubel’s recipe was her Pumpkin Bread. She put dates in it and baked it in one-pound coffee cans. You couldn’t miss it. Who else delivered aromatic cylinders as presents?
But I don’t drink coffee that comes in cans and I’ve had years to play with her recipe. My adaptations settled in about 35 years ago to create my Signature Holiday Gift. I traded chocolate chips for dates and baked it in regular pans. And now I gift it to you. Put your name on it and call it your specialty. Use it to simplify your life . . .
MRS. SHUBEL’S and CHERYL’S HOLIDAY PUMPKIN BREAD waiting for your signature. . .
First . . . it needs to be very cold and beautiful outside . . .
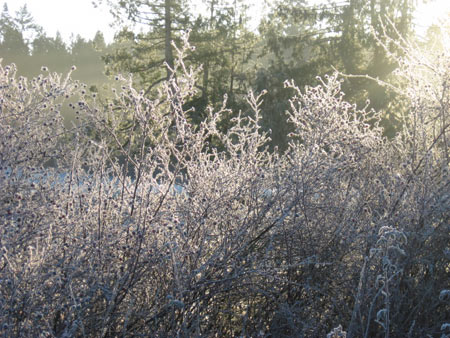
Well . . . that’s not true . . . but this was the view the morning I started baking my 2009 Christmas bread. The winter sun here is rare and thus precious. I enjoy it at any . . . and every . . . opportunity.
Next, read or reread my earlier post about the basics of making any cake (or, in this case, a sweet bread which is the same process): The Zucchinis are Coming . . . Let them be Cake.
The original recipe called for a small can of pumpkin which was about 2 cups at the time. Long ago I upped the recipe so that I could bake more at once and I use the larger can of pumpkin. I will give you both sets of numbers. The numbers in the brackets refer to the more ambitious amount.
DRY INGREDIENTS:
- 3½ C flour [5¼ C]
- 2 t baking soda [1 T]
- ½ t baking powder [¾ t]
- 1½ t salt [2¼ t]
- 1 t cinnamon [1½ t]
- ½ t [¾ t] each of ground cloves, ginger and nutmeg
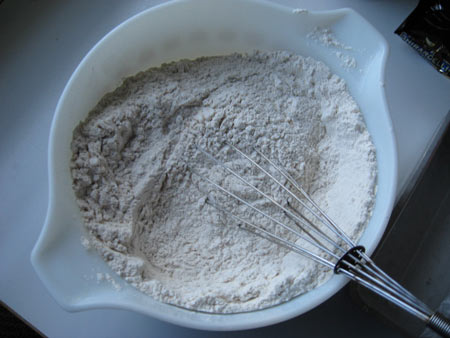
Put all of these into a bowl
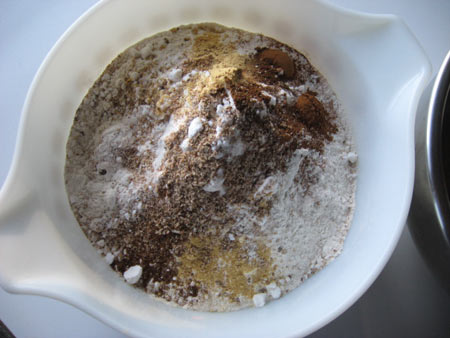 and then gently whisk them together.
THE WET INGREDIENTS:
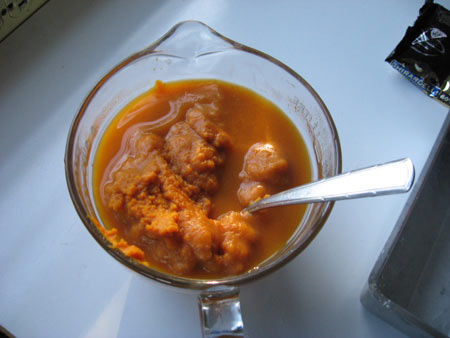
- 2 C pumpkin (small can) [3 C] (most of a large can)
- ⅔ C water [1 C]
Combine these in a separate bowl.
THE CREAM-TOGETHER INGREDIENTS:
- 2 ⅔ C sugar [4 C]
- ⅔ C butter [1 C]
- 4 eggs [6 eggs]
THE CHUNKY ADDITIONS:
- 1 C of chopped dates OR raisins OR chocolate chips [1½ C]
- 1 C of chopped walnuts [1½ C]
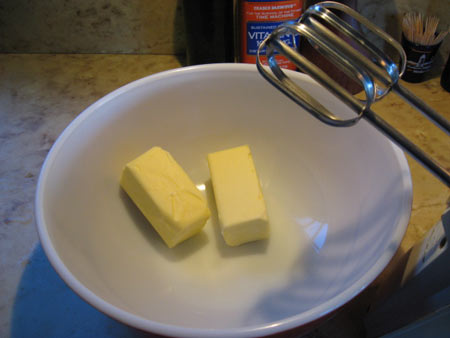
Start by beating the “cream-together” ingredients with an electric hand or stand mixer. You could even use a wooden spoon if that’s all you had but it’s a lot of work. Soften the butter first. It sat out at room temperature over night (but the room was pretty chilly).
Notice how it gets lighter in color as you incorporate air.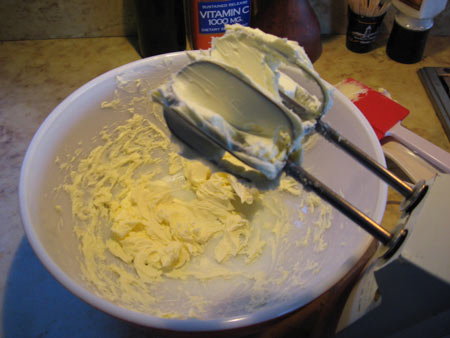
Once it’s fluffy start adding the sugar about a cup at a time.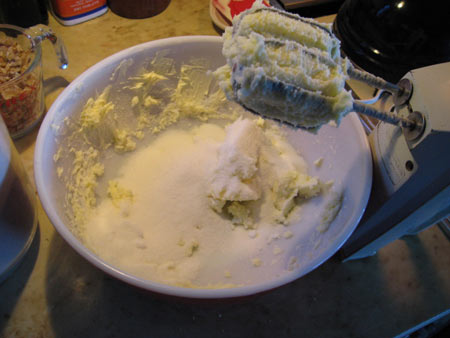 and beat after each addition to incorporate the sugar evenly.
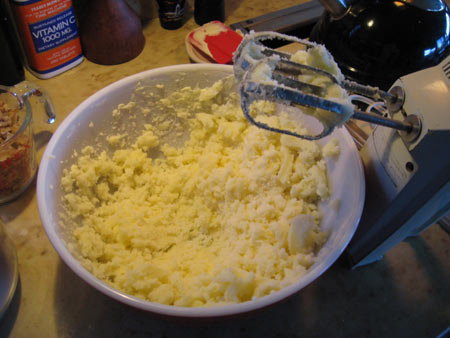
Once the sugar is all in you can add the eggs, 2 at a time, and beat after each addition: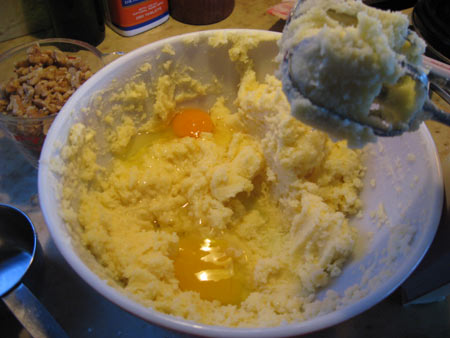 (Notice the bright orange yoke versus the lighter yellow yolk of the larger egg in front. The bright orange yolk is from my friend’s chicken, the lighter one is store-bought.)
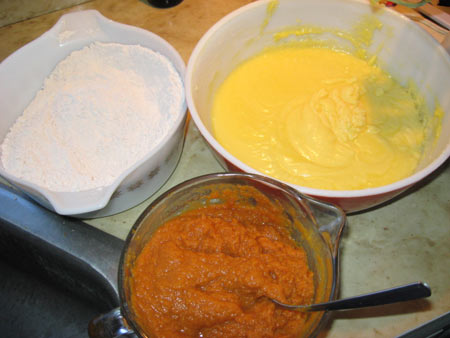
And now you have 3 bowls of ingredients: dry, wet and creamed.
Some important notes here.
- Once you combine the baking soda and powder with liquid, you’re starting the chemical reaction that makes bubbles so you need to get it into a preheated oven (350º) in a hurry. That means your pans should already be prepared.
- When you were working with the butter, sugar and eggs, you beat the heck out of it to incorporate air. Now, you are going to stir gently . . . just enough to mix everything evenly. If you beat it, it will develop the gluten in the flour and it will be tough. That’s why we knead bread . . . to give it that chewy texture. However, you want your cakes and sweet breads to be tender and a little crumbly.
Let me back up a little here. My actual order of doing things is this:
- The night before baking I assemble the dry ingredients and take the butter and eggs out of the refrigerator and let them come to room temperature overnight.
- At baking time, before I start the mixing process I prepare the pans and turn on the oven.
THE BAKING PANS
Mrs. Shubel’s original recipe calls for 3 one-pound coffee cans half filled and baked at 350º for one hour. These are my adaptations:
Smaller recipe: 2 standard loaf pans (9″ x 5″ x 2¾”) OR 4 medium loaf pans (7½” x 3¾” x 2¼”) OR one standard pan and 2 mediums.
Larger recipe: This is how I usually do it. I use my 4 medium pans plus 3 smaller ones (5½” x 3″ x 2″).
I’m trying to make this simple and I realize that not everyone has 4 sizes of loaf pans on hand, but this is the best I can do with honesty. If you are a novice baker and you like things like zucchini, pumpkin and banana bread, you need 2 standard loaf pans. That’s how I started. These kinds of breads freeze very well and it takes just as much effort to make one loaf as two, so make at least 2 at a time.
Regardless of the size of the pans, this is how you prepare them.
- Grease them with Crisco or butter. That means to take a piece of paper towel or waxed paper, grab a small clump of solid fat with it and rub all the interior surfaces of the pans.
- Cut pieces of waxed paper (or baking parchment) the size of the bottoms of the pans.
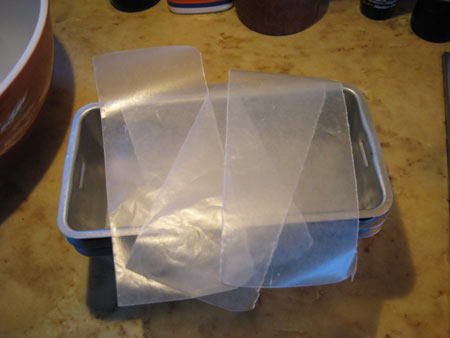
- Once the pans are greased the paper clings easily to them.
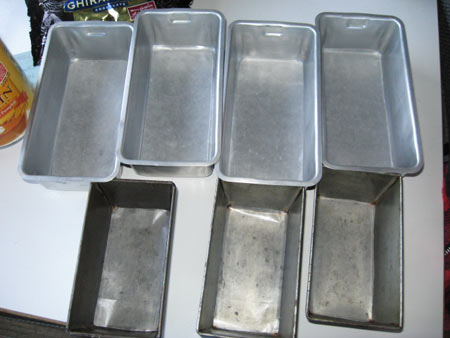 4. How long you bake them depends on the size of your pans and your oven but I find that these pans need about 45 minutes of baking. You might need to take the smaller ones out of the oven earlier. Just keep testing by inserting a toothpick into the center of the loaf. If it comes out clean and not with goopy batter on it, they’re done.
